
25 Years of Experience | Beautiful, Unique & High-Quality Flooring Products
Lorem Ipsum is simply dummy text of the printing and typesetting industry.
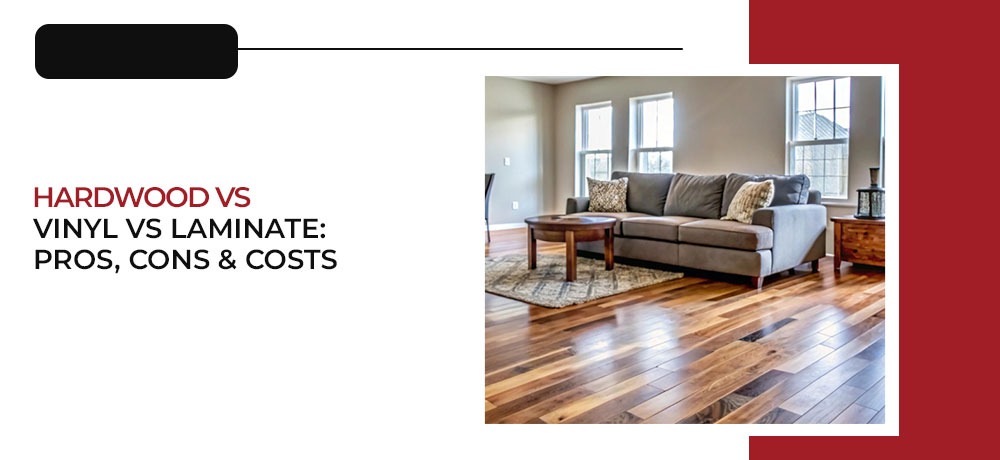
One of the most important decisions you will make about your home design is its flooring. It not only enhances your home’s aesthetic value but also reflects the floor’s durability, maintenance needs, and long-term value. The three most popular options are laminate vs vinyl vs hardwood flooring:
Each of these options has its own strengths and weaknesses, so a clear understanding of each option is required for making an informed decision. This guide provides a detailed overview of hardwood vs vinyl vs laminate flooring options with their pros, cons, and how much they cost, so let’s get into the details!
Hardwood flooring is made from solid wood planks milled from hardwood species like oak, maple, cherry, or walnut. It’s natural, timeless, and has been a staple of quality home design for generations. For the past 25 years, we’ve been flooring the beautiful homes of our clients with hardwood, and it instantly becomes everyone’s favorite!
You can find more about it here: https://stittsvillefloors.com/
Vinyl flooring is a synthetic product made from PVC plastics engineered to mimic wood, stone, or tile. It comes in sheet vinyl, luxury vinyl plank (LVP), or luxury vinyl tile (LVT) formats.
Laminate flooring is an engineered product made of multiple layers of synthetic material fused together. A printed photographic layer gives it the look of hardwood or tile, and a protective top layer resists wear.
Hardwood vs vinyl vs laminate, which is the best one?
There isn’t a one-size-fits-all answer, it depends on your priorities:
If you’re willing to invest in beauty and longevity and care about resale value, hardwood wins, but it comes at a premium. If you need practical, worry-free flooring for kitchens, bathrooms, or rental homes, vinyl is often the best choice. If cost and DIY installation are your priorities, laminate hits the sweet spot.
For expert installation and guidance on all flooring types in Ottawa, check out our Ottawa flooring contractor services.
There’s no universal “best”; it depends on your needs:
So the best choice varies by priorities: style and value (hardwood), moisture and ease (vinyl), or cost and install-ease (laminate).
The Rule of 3 is a design guideline suggesting you should use no more than three different types of flooring in a home. It helps create visual harmony and flow between spaces, for example, hardwood in living areas, tile in bathrooms, and carpet in bedrooms.
The healthiest flooring options typically:
Some of the healthiest choices include:
Hard surfaces are often better for allergy sufferers than carpet because they don’t hold dust or pet dander.
Common disadvantages include:
No. Hardwood is typically more expensive than laminate in both materials and installation. Laminate is one of the most budget-friendly flooring options.
It’s a design rule that recommends keeping no more than three different floor types in a home to maintain a cohesive and balanced look throughout the space.
To recap:
The right choice depends on your home, lifestyle, and where the flooring will be installed.
Hardwood is more expensive than vinyl. Hardwood flooring generally costs more in both material and professional installation, while vinyl remains one of the most affordable options.
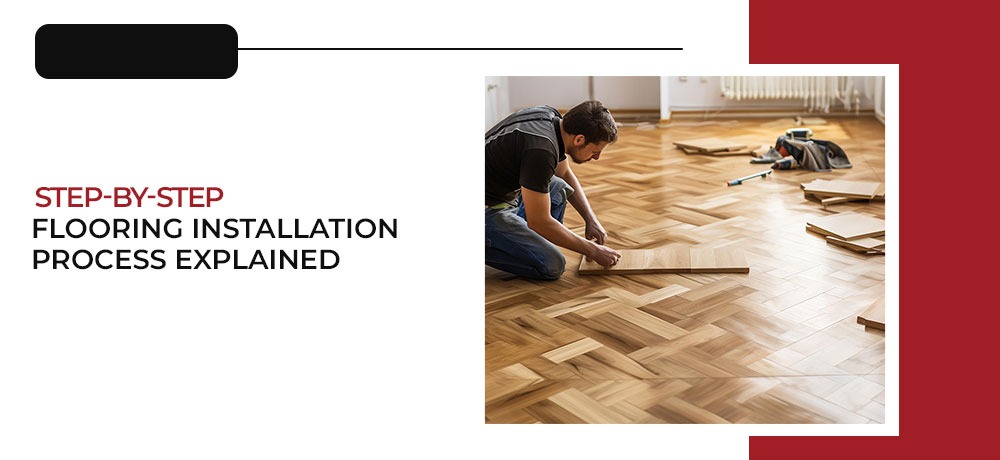
A beautifully installed floor can take your property from 0 to 10, if done properly. If you’re remodeling a single room or planning a full-scale renovation, it is important to understand how floors are installed, as it helps you make smarter decisions, avoid costly mistakes, and appreciate the craftsmanship involved. This complete flooring installation process guide will help you turn your property’s floor into a marvellous project with a few aftercare tips to keep it intact long-term.
Flooring refers to the permanent surface material that’s generally applied over a building’s subfloor to create a functional, walkable, and visually appealing finish. Beyond aesthetics, a good-quality flooring has several other benefits, such as:
Different environments demand different flooring solutions. Kitchens and bathrooms require moisture resistance, living rooms often benefit from warmth and style, while commercial spaces prioritize durability and ease of maintenance. Therefore, it’s important to know which type of flooring best suits your property.
If you’re unsure which option is right for your space, working with a professional Flooring Contractor in Stittsville can make all the difference. Experienced specialists can assess your subfloor condition, room usage, moisture levels, and design goals to recommend the most suitable material.
Common types of flooring include:
Natural wood planks bring timeless beauty and can be refinished multiple times. Oak, maple, walnut, and engineered hardwood are popular choices for such flooring.
Ceramic, porcelain, and stone tiles are known for water resistance and longevity, which makes them ideal for kitchens, bathrooms, and entryways.
A budget-friendly alternative that mimics wood or stone, laminate is easy to install and resistant to scratches.
Available in sheets, planks, or tiles, vinyl is waterproof, comfortable underfoot, and versatile for nearly any room.
Soft and insulating, carpet works well in bedrooms and lounges where comfort is a priority.
The first and most important step of the floor installation process is a thorough inspection of your floor and the relevant property areas. Such as the measurement of the room, noting down any irregular shapes, checking door clearances, and inspecting the existing subfloor for damage, moisture, or uneven areas. This planning phase determines material quantities, layout direction, transition strips, and expansion gap. So make sure you thoroughly examine your property before moving on to the next step.
Once you completely inspected your existing flooring, it’s time to remove it.
It is important that this step is carried out carefully, as you are required to remove every last bit of your old flooring. Adhesives, nails, and staples are cleared away, and debris is hauled off-site. If any moisture damage or mold is discovered, it is important to repair it before proceeding to the next step.
The subfloor is the entire foundation of your floor tile installation project. In this step, your main focus should be to patch up if there are any cracks in the subfloor. filling the low spots with leveling compound and securing the squeaky boards. In moisture-prone areas, vapor barriers or underlayment may be added.
For tile jobs, a cement backer board is often installed. For wood surfaces, particularly in the hardwood floor installation process, flatness is essential to prevent creaking or separation over time.
In this step of your flooring installation process, the complete layout of the floor will be determined. It generally includes the starting wall, plank direction, tile pattern, and how edges and corners will be handled.
If you are a crafting pro, you can DIY this whole floor tile installation process, or skilled professionals with years of experience, like Stittsville floors, can do it for you!
Now is the time things are coming together!
Depending on the type of flooring you chose, in this step, they will be installed on the floors. Below is the flooring installation process for wood, tile, and vinyl floors.
This step is all about the final touches, like the cherry on top of a cake!
In this step of the floor installation process, baseboards, quarter rounds, thresholds, and transition strips are installed to cover expansion gaps and create clean edges between rooms or different flooring types. Doors may be trimmed for clearance, and any visible nails or seams are concealed properly.
This is the step where your floor gets its polished, professional appearance.
Once installation is complete, it’s time to thoroughly clean the entire area. Dust, grout haze, and adhesive residue are removed. Installers inspect for loose boards, uneven tiles, or cosmetic flaws and correct them immediately.
As the final step of the floor installation process, the team stittsvile floors thoroughly guides you through maintenance instructions and warranty details, which brings the entire flooring installation process to a satisfying close.
Proper care keeps your floor looking new and extends its lifespan.
Flooring should be installed on a clean, dry, level subfloor after proper inspection and preparation. Hiring a professional kanata flooring contractor can help ensure that each stage of the process is handled correctly and according to industry standards. The general approach includes removing old flooring, fixing uneven areas, adding underlayment or moisture barriers if needed, planning the layout, installing the chosen material according to manufacturer guidelines, finishing edges with trim, and performing a final inspection and cleanup. Proper installation ensures durability, safety, and a polished final appearance.
The “rule of 3” in flooring usually refers to staggering plank seams so that no two end joints line up within three rows. This creates a stronger structure and a more natural appearance. Many installers also follow a minimum 6–8 inch offset between joints, depending on product specifications.
The first step is always evaluating and preparing the subfloor. This includes checking for moisture, repairing damage, leveling uneven spots, and ensuring the surface is stable before any material is installed.
Vinyl flooring installation typically follows these steps:
Hardwood floors are usually installed through this sequence:
Yes. Most hardwood floors require underlayment or a moisture barrier, especially over concrete slabs. These layers help control humidity, reduce noise, and improve stability. Some engineered hardwood products include built-in underlayment.
For floating or nailed hardwood floors, light foot traffic is often allowed within 24 hours. For glued-down floors or newly finished site-finished hardwood, it may take 48–72 hours or longer before walking on them or placing furniture, depending on adhesive or finish curing times.
Common mistakes include:
Tile installation usually involves:
The 3/4/5 rule is a method used to create perfect right angles when laying tile. Measure three feet along one wall, four feet along the perpendicular wall, and the diagonal between those points should measure five feet if the corner is square. This helps ensure straight tile lines and symmetrical layouts.
Before tiling, you should install a cement backer board, uncoupling membrane, or mortar bed, depending on the subfloor. These provide stability, prevent cracks from transferring, and improve tile adhesion. On concrete slabs, moisture barriers may also be necessary.
Common tiling mistakes include:
